The process of installing a patch panel onto a wall begins with the preparing the wall to hold the rack. Most offices have drywall walls. Sometimes the walls are concrete if they lie along the structural boundaries of the building. This installation involved mounting the patch panel onto a wall that is drywall on top of concrete.
The photos below will illustrate what is involved in mounting a rack that holds the patch panel and switch.
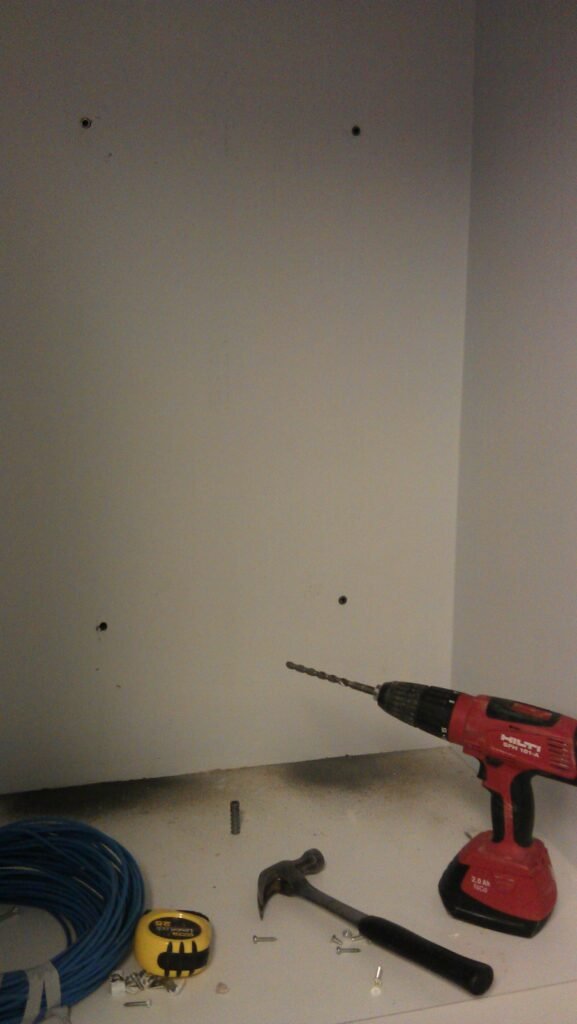 |
The tools involved are a strong drill, tape measure and a hammer. Mounting holes are pre-drilled through the drywall and into the concrete. Lag anchors designed for concrete need to be inserted into the holes. |
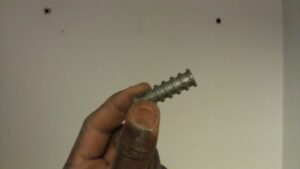 |
This photo is of one of the concrete lag anchors. |
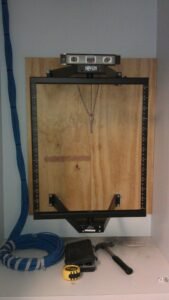 |
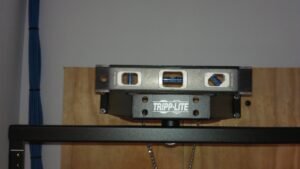
Wood screws hold the plywood onto the wall. And the Tripp Lite wall-mounted rack is mounted onto the plywood. The plywood provides the strength to hold the rack so that there is little chance of the equipment becoming dislodged. |
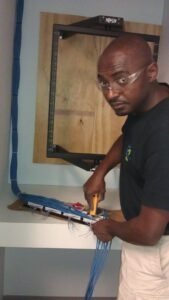 |
Joel the cabling technician works on punching down the cables into the back of the patch panel. Notice how the bundle of cables are nicely wrapped every few inches. It is very important that there are no kinks or stray loose cables showing. Neatness counts and will reduce the likelihood of cabling issues that can bring down the network. |
 |
This particular rack is hinged which makes access to the back of the panel easier. |
 |
The final results shown here. The rack with patch panel, switch and patch cables that connect the two together. The two colors indicate that 10 of the cables are dedicated to phone and the other 24 are for data. |
Thank you to Capitalize for the opportunity to work on their cabling project.